
How to Tell When Your Brushes Are Done For
These things don’t fail instantly—they wear down bit by bit, and if you catch them early, you avoid bigger problems. Here’s how to tell when it’s time for a replacement:
Key Signs of Worn Brushes:
- Power Loss Under Load – Starts fine but slows down or cuts out when you press into the work? That’s the brushes struggling to maintain contact. If you’re using, say, a 7-inch angle grinder at 8,500 RPM, a worn-out brush could reduce its effective power output by 30-40%, making it feel sluggish.
- Increased Sparking – A bit of sparking inside the motor is normal, but if it looks like a mini lightning storm in there, your brushes aren’t making solid contact. If you can see sparks longer than 5mm through the vents, those brushes need replacing ASAP.
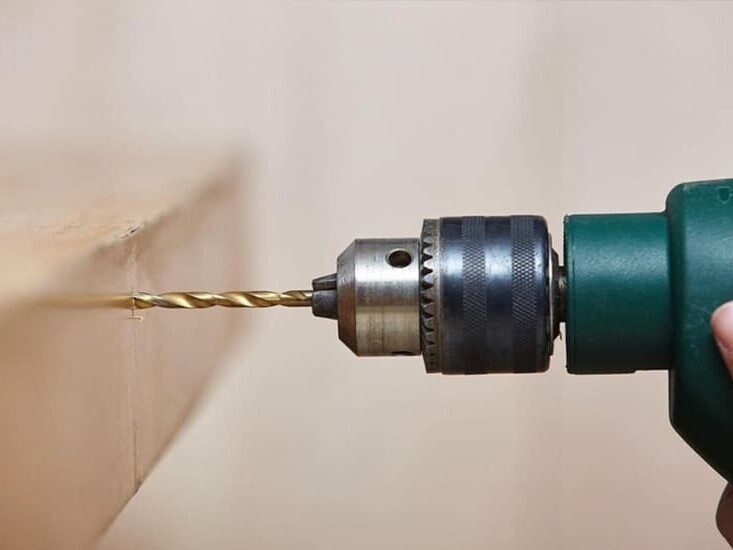
- Burning Smell or Heat Build-Up – Ever felt a tool get hotter than usual, or caught a faint burning smell? That’s usually resistance building up from poor contact. In a corded SDS drill (900–1,500W range), if the motor housing hits 75°C (167°F) or more, you’ve got a problem.
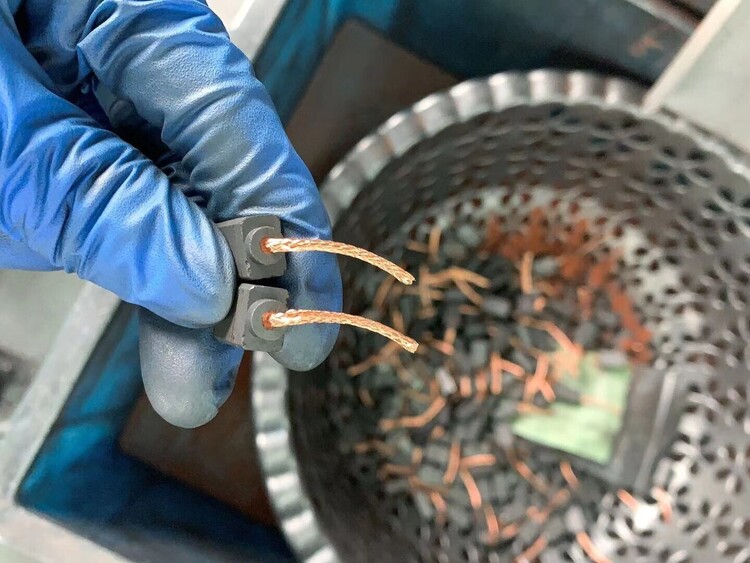
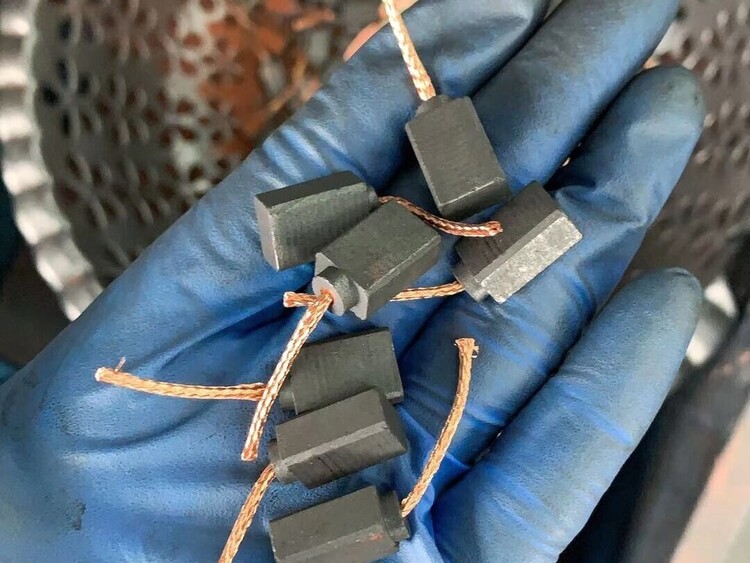
- Brushes Under 5mm Long – Most new brushes start around 12–15mm. Once they wear below 5mm, they stop making proper contact and need replacing. Some tools have built-in cut-offs that stop working when brushes reach 3mm, but not all. Checking them manually is always best.
Pro Tip: Diagnose by Sound*
Ever noticed a tool sounding higher-pitched or “scratchy” at high RPMs? That’s often a brush issue. A corded drill spinning at 2,800 RPM* should have a smooth hum—if it starts whining or fluctuating, your brushes might be bouncing inside the holders, causing inconsistent contact.
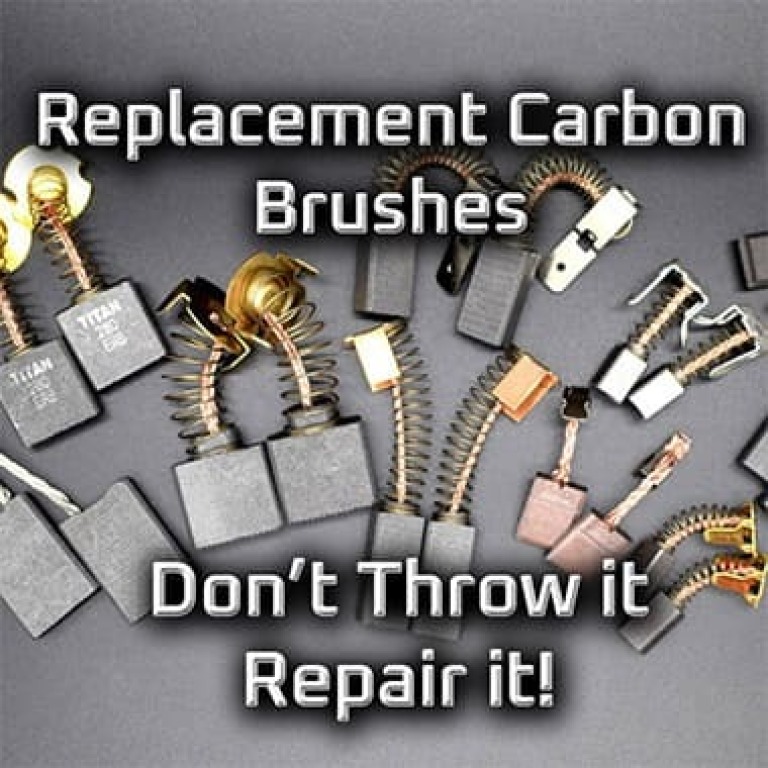
Not All Carbon Brushes Are the Same: Here’s How to Pick the Right Ones
Plenty of people grab any old replacement that “looks about right” and end up with sparking motors, tools that overheat, or brushes that grind down in weeks. Here’s why material choice matters and how to pick the right type.
The Four Main Types:
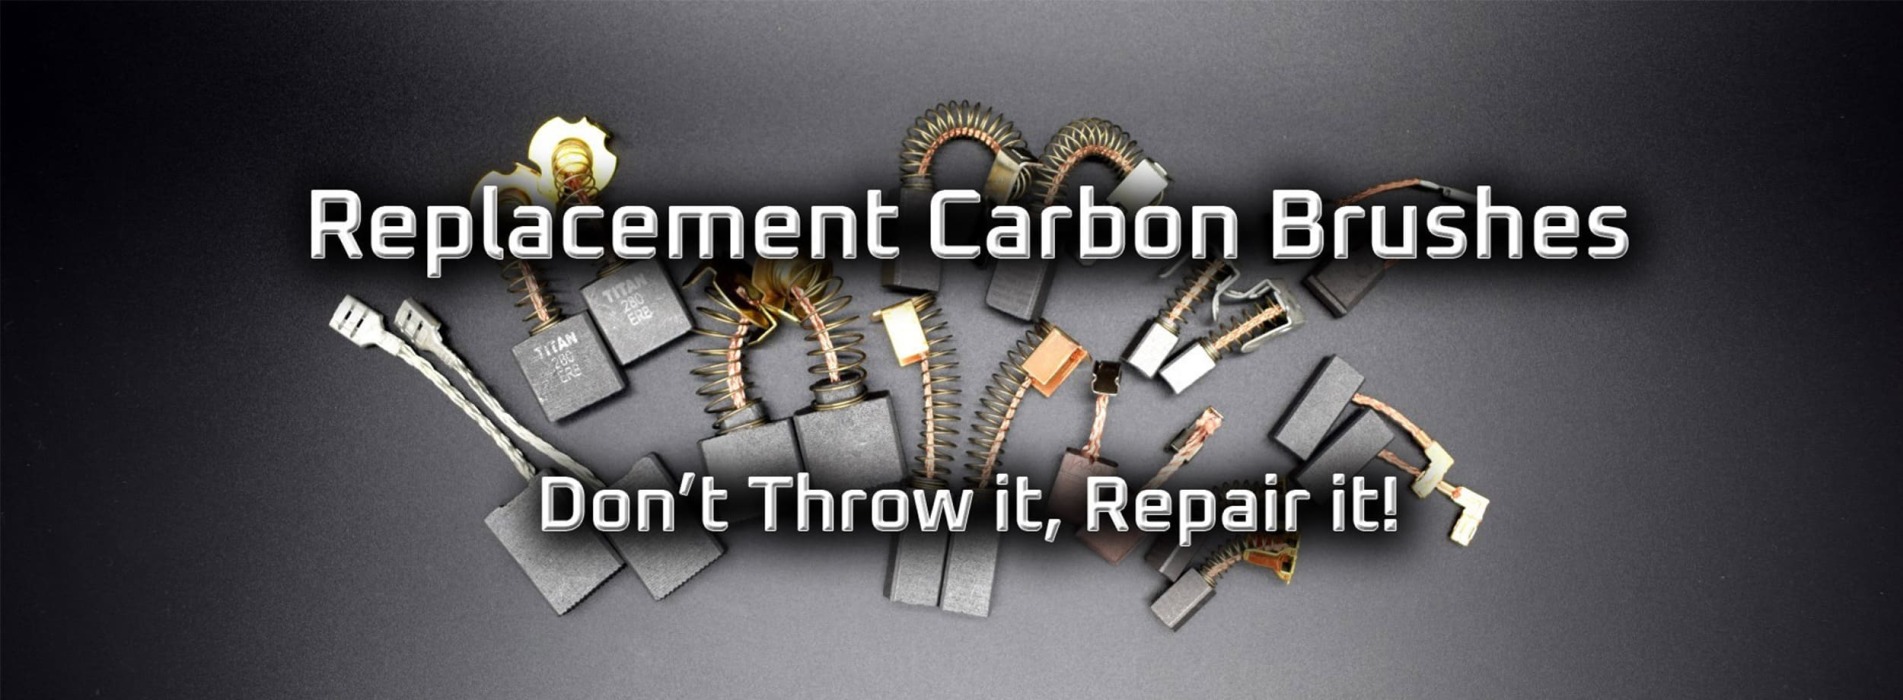
- Graphite-Based Brushes – Great for high-speed tools where you want smooth, low-friction contact. Best choice for:
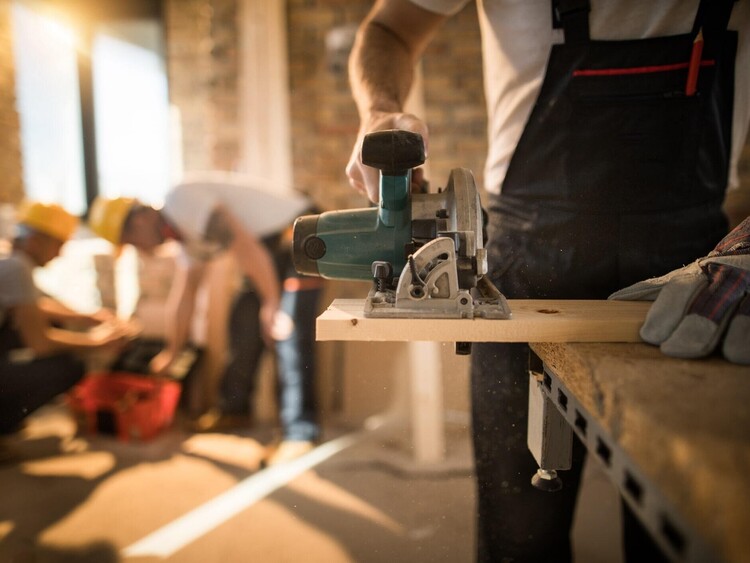
- > Circular saws (4,000–5,800 RPM)
- > Routers (20,000–30,000 RPM)
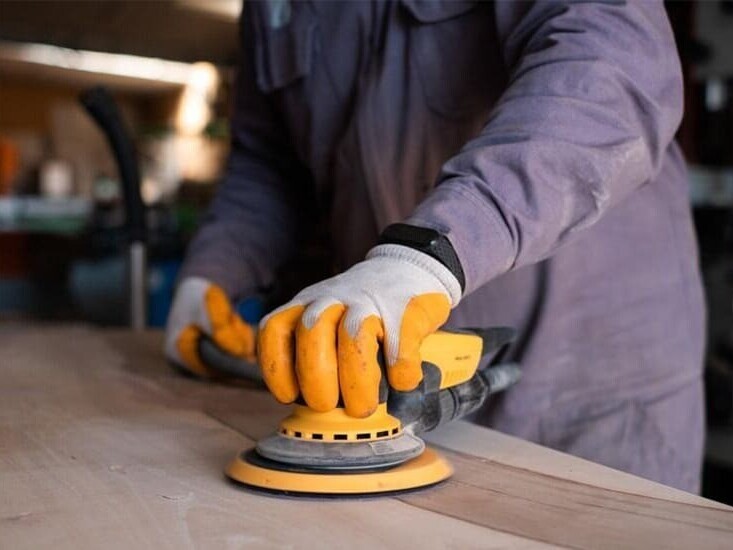
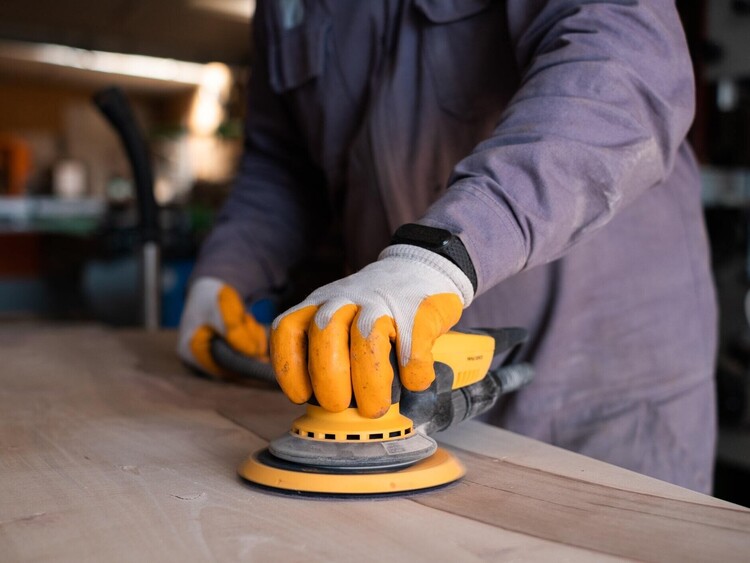
- > Power sanders (8,000–14,000 OPM)
- > They minimize sparking and wear down slowly.
- Copper-Graphite Brushes – Higher conductivity for heavy-duty tools that pull more power. Best choice for:
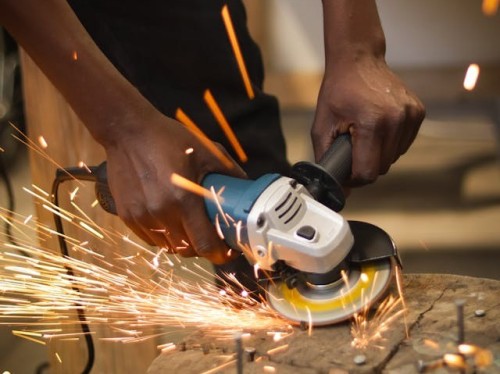
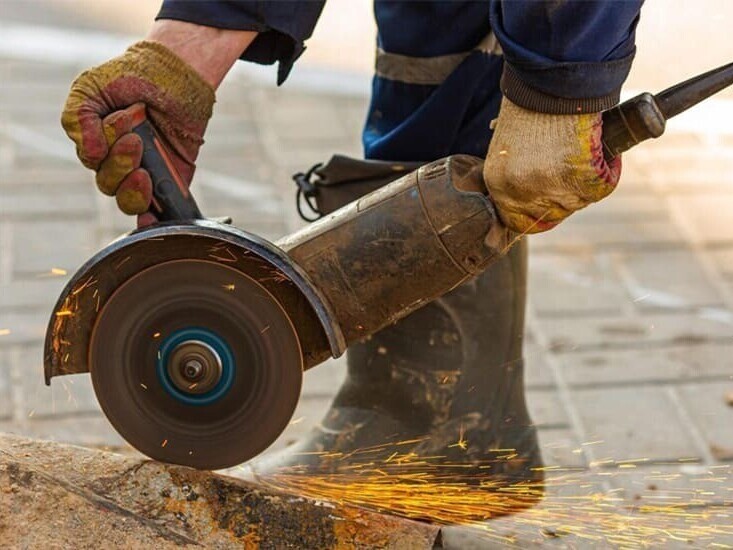
- > Angle grinders (8,500–11,000 RPM)
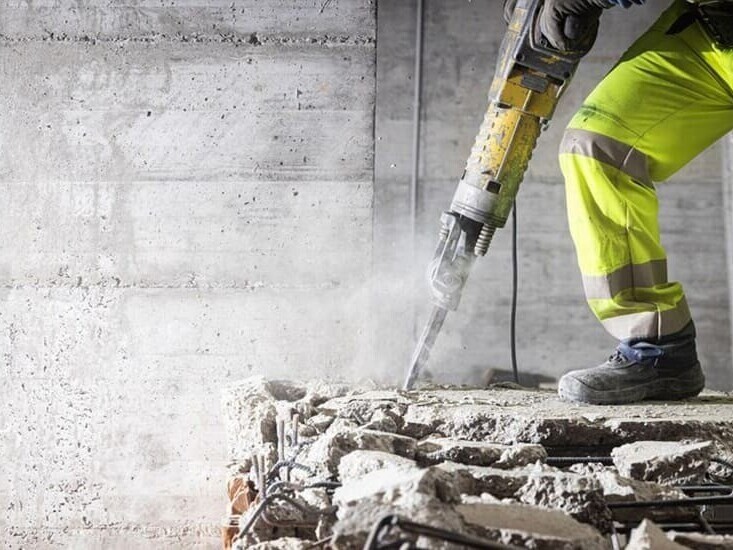
- > Demolition hammers (1,400–2,000 BPM, 3–10J impact energy per blow)
- > Rotary hammers
- > If your tool runs over 1,500W, this is what you need.
- Hard Carbon Brushes – Found in automotive starters and heavy industrial tools. Built for extreme durability, they last 100,000+ cycles but aren’t needed for general power tools.
- Silver-Graphite Brushes – Rare in DIY tools. Mostly used in high-precision electrical systems. They conduct electricity 10x better than standard graphite but cost way more than you need to spend.
Real-World Example: Why Brush Material Matters
A carpenter using a router for precision joinery needs graphite-based brushes to keep friction and sparking low, ensuring smooth speed control. But a metal fabricator grinding thick steel all day with a 9-inch, 2,200W angle grinder needs copper-graphite to handle the high current draw without burning out.
Wrong choice = overheating, rapid wear, or weak power delivery.
Getting the Right Fit: Size and Compatibility Matter More Than You Think
Even if you pick the right material, the wrong size or fit can cause:
- Poor contact (weak power, overheating)
- Brushes bouncing inside the holder (excessive sparking, quick wear)
- Springs too weak or too strong (inconsistent performance)
How to Find the Right Fit:
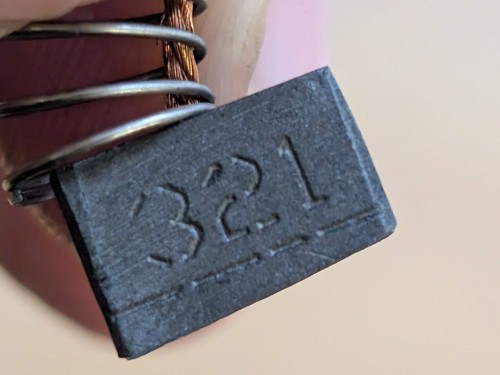
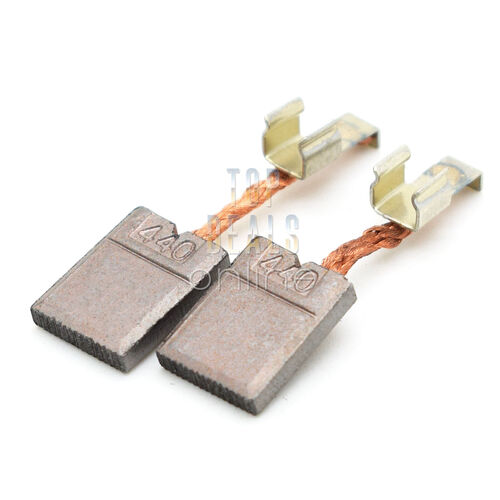
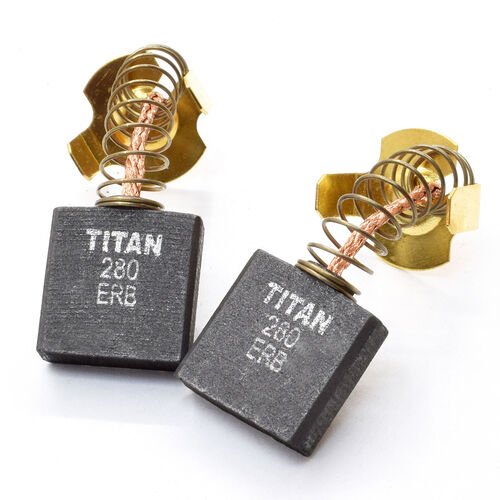
1. Check the Old Brush – Most have a part number stamped on them. If it’s readable, just match it.
2. Look in the Manual – Manufacturer specs will list the correct size and type.
3. Measure Manually – If there’s no marking, grab a caliper and measure width, thickness, and length. Standard sizes include:
> 6x10x15mm
> 6.4x12.5x22mm
> 8x16x22mm
A brush that’s even 0.5mm too big can get stuck in its holder, stopping proper contact. One that’s too small can bounce around and spark excessively.
Always verify size before buying—"close enough" isn't good enough.
Why Cheap Brushes Fail (And Cost More in the Long Run)
Bargain replacements seem like a steal, but they wear out faster, overheat, or damage your motor.
What Separates Good from Bad:
- Density & Purity – Cheap brushes often contain 20%+ filler material, making them wear down 2-3x faster.
- Spring Quality – A good brush has a spring with 2-4N pressure, keeping contact consistent. Weak springs = flickering power.
- Precision Cutting – A high-quality brush is machined to ±0.02mm tolerances. Poorly cut ones don’t seat properly and cause bouncing.
Real Example: Cheap vs. Quality Brushes
A builder with a Makita hammer drill grabbed a generic aftermarket brush set online. Within two weeks, the drill started overheating and losing power. The low-density carbon wore out in a month, forcing another replacement.
He switched to a quality brush set from a trusted UK supplier, and the drill ran like new—lasting over a year before needing another swap.
Lesson? Cheap upfront = spending more later.
How to Replace Brushes Without Causing Damage
Swapping them out is straightforward if done right. Rushing it, though, can cause seating issues, overheating, or motor wear.
Step-by-Step Guide:
1. Power Off & Open the Housing – Unplug the tool or remove the battery.
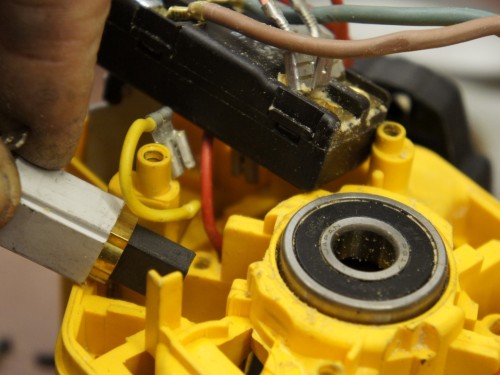
2. Locate the Brush Holders – Usually found on either side of the motor.
3. Remove Old Brushes – Take note of how the springs are positioned.
4. Insert New Ones – Ensure they slide smoothly and aren’t forced in.
5. Bed Them In – Run the tool at low speed for 5-10 minutes to let the brushes seat properly.